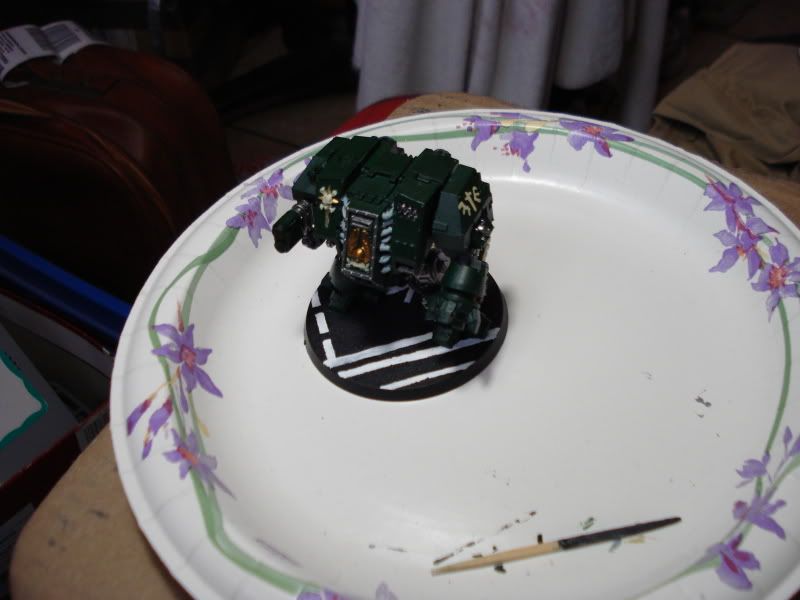
 This angle, you can see the freehanded Dark Angels crest on the left shoulder. I applied it with a toothpick (the stirring stick you see at the bottom of the picture) because I don't yet have the brush control I'd like. You can also see, on the base, the crosswalk and road lines - even part of the left turn arrow, though his foot is placed right over it. That was happy coincidence, on my part, because the bits I did get were a pain.
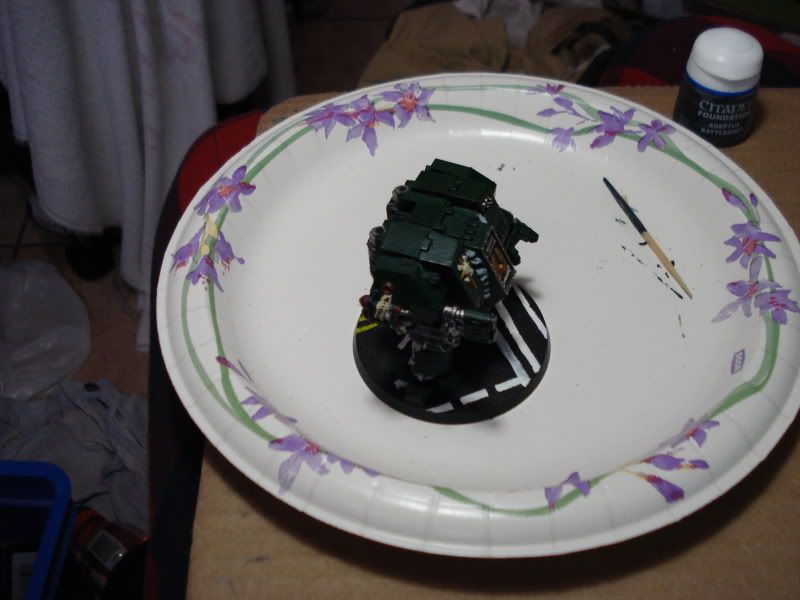 This shot didn't have very good lighting- there's lines of black on the Oath of the Moment, or the Purity Seal (never sure which is which) and the tanks on his meltagun arm were based with dark grey, covered with boltgun metal, then a thin coat of Scab Red was applied. The metal doesn't shine through as I'd hoped- probably should have mixed the two and then painted for the real effect I wanted. On this one, again, you can see details of the road lines. (As I live in the US, my only reference is US road markings, so that's what I've done them as.)
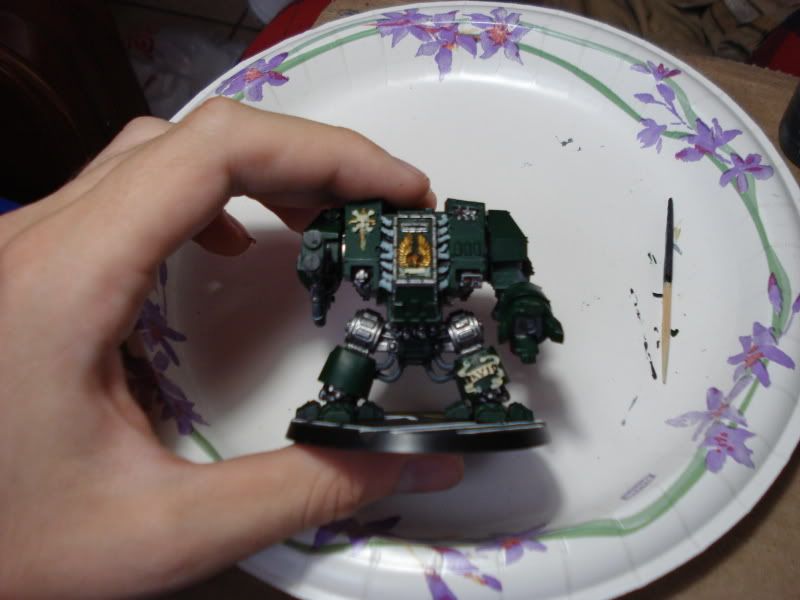 Shot of the front- shows the scrollwork on the leg quite well, actually. His name was originally Brother Davidicus, but there was no way I was fitting that all there- his name is now simply Brother David. You can also sort of see the red that I went over the lenses with, and the light grey of the hoses leading to the sarcophagus- I really like the contrast between those, and the ones lower down or on his arm. They indicate that what they're funneling power, etc. to is different than the rest of the suit, sort of a cut above simple leg motor cables.
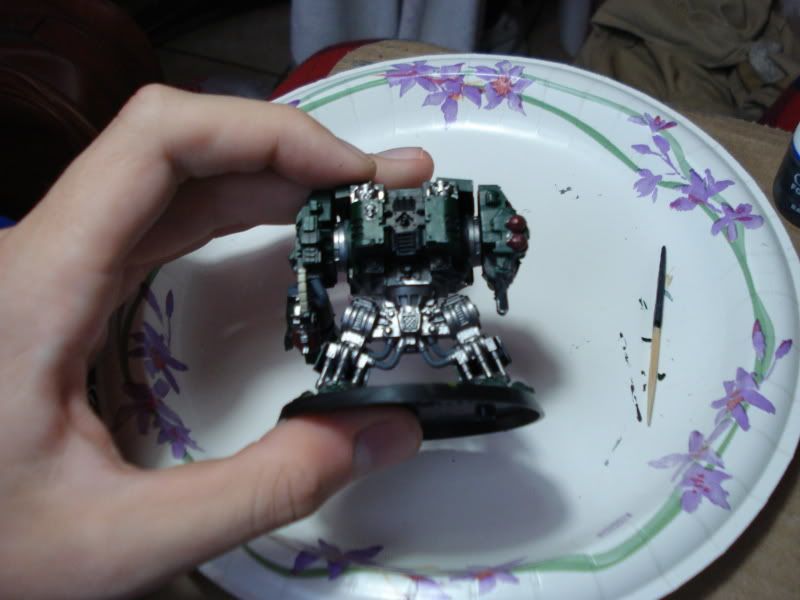 Shot of the back, here- you can see the extent of the Boltgun Metal on all the assemblies down there (the codex didn't have any rear views of it, for which I'm disappointed- I had to guess) and you can sort of see the back of the meltagun tanks, and the cable to the close combat weapon which I painted Bleached Bone just for the contrast.
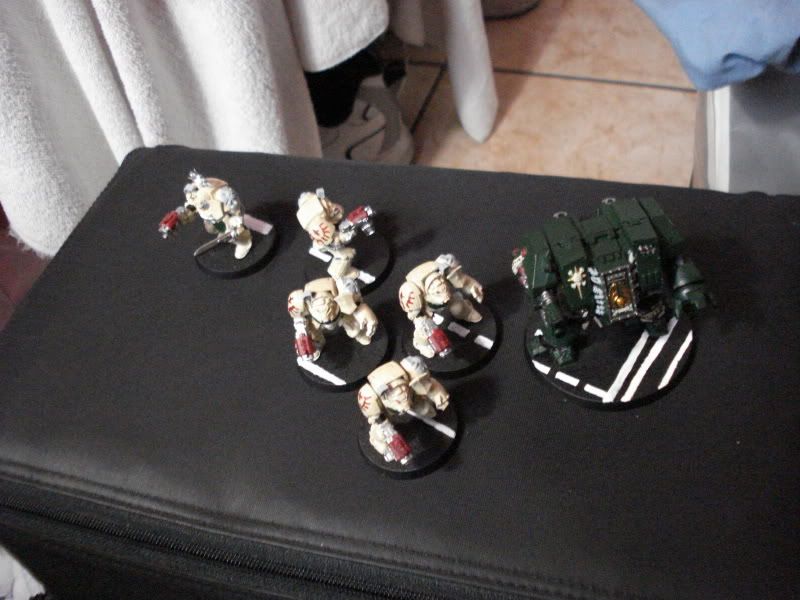 Here, I tried to go with a shot involving everything I'd painted for the TOEMP so far. Tried to arrange them in a fashion where all the road lines matched up, which worked fine except for the sergeant.
Well, there you have it- my dreadnaught. Points:
Walker - 5 pts
Icons - 1 pt
Lenses - 1 pt
Walker Details freehand - 5 Pts
On time - 1 pt
Total - 13 pts
Well done. You should really experiment with citadel washes, this should improve your miniatures.
ReplyDeleteNice work mate! Your force is starting to take great shape after just 2 challenges!
ReplyDeleteLooking sharp! I really like the painted asphalt bases, cool stuff! Keep up the great work!
ReplyDeleteGrégory - I basically don't have the money to buy the washes, but I'm noting your suggestions and plan to implement them in the future.
ReplyDeleteMordian - With some of the standard Tactical Marines, I plan on having some Green Stuff sidewalks modeled - I've never done anything with it before, so I think it'll be a nice introduction to how it's used and such.
Thanks for the comments, all.
They look great - but it's only showing me half of each picture!
ReplyDeleteExcellent, clean work! The metallics on the dreadnought came out really well, and the green basecoat seems very smooth and consistent.
ReplyDeleteDrax - it's a blogger problem, click on the picture and it shows the full one. I can't find any way to just insert thumbnails.
ReplyDeletePaul - That's because I did 3 1/2 coats of the Dark Angels green on top of the black undercoat, that's how many tries it took for me to get rid of all the brush strokes. I'm pretty happy with the metallic details as well- from now on, going to try and find some way to work more metallic details on, as they pop really well.
About the washes : Use normal paint, dilute it, add a very little bit of plates cleaning soap (PEC ?). This can be used as a wash without buying any. The soap will help the paint to go in recesses. Try it on miniatures you don t like first. You can make it with any color.
ReplyDelete